Non-Destructive Testing Methods


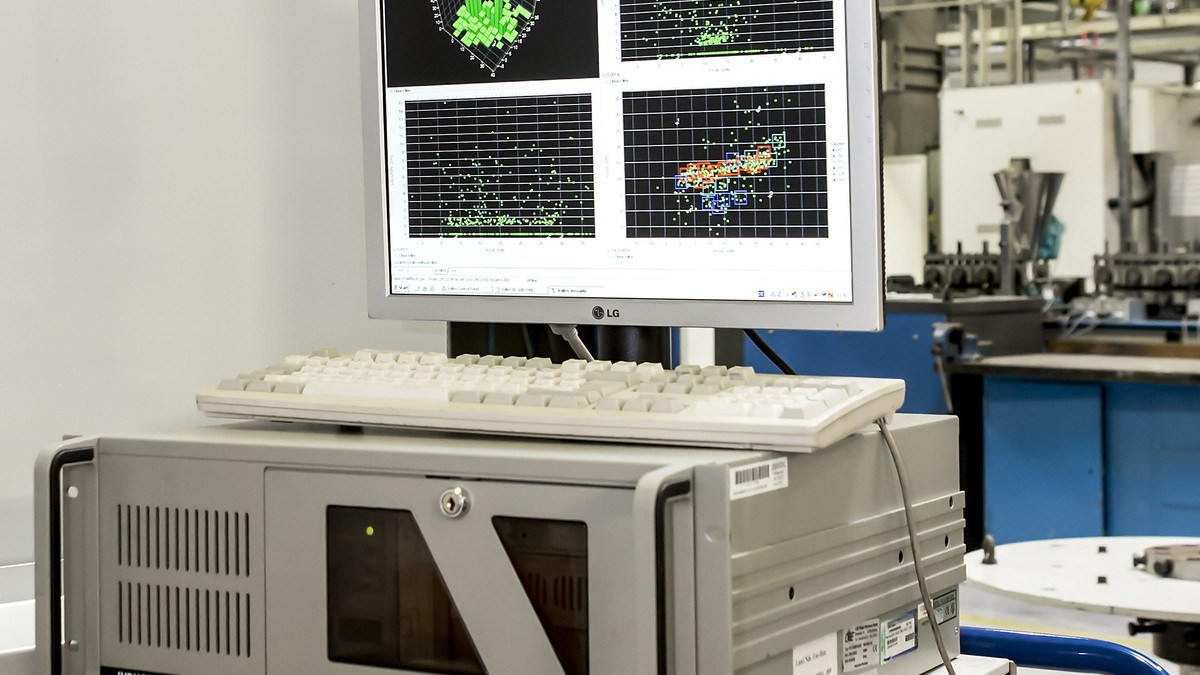
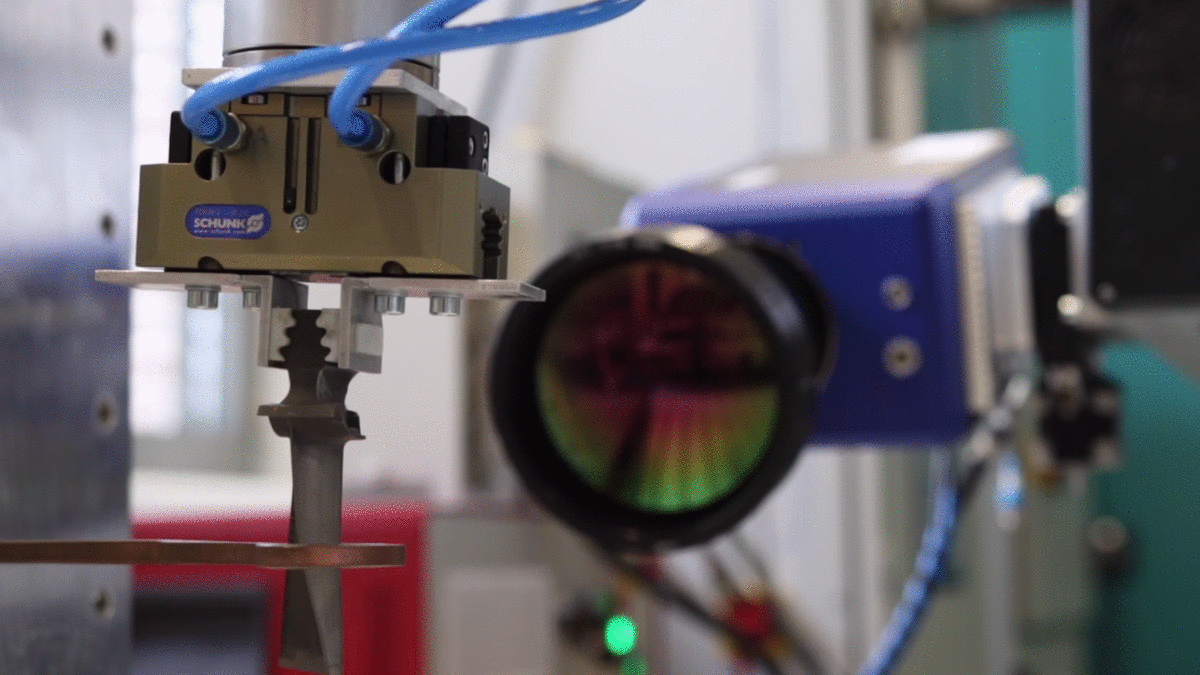
By means of the eddy current method, minor defects in components can be detected non-destructively and conclusions can be made about the physical and mechanical/technological properties of the component and its microstructure. In addition to detecting material mix-ups in production, this allows the heat treatment condition to be controlled and, for example, incorrectly hardened workpieces to be identified. Furthermore, high-temperature sensor technology can be used to determine the microstructure evolution and with it the component properties during the cooling phase. In addition to quality assurance, this allows real-time process control in order to set a target structure in a controlled manner.
Using high-resolution eddy current technology in combination with local laser heat treatment, component-inherent data storage can be achieved. High-frequency technology enables the analysis of the condition of the base material and coating of high-pressure turbine blades, as well as failure analysis by induction thermography. Phased array and TOFD enable ultrasonic inspection of complex structures. Microfocus X-ray technology is used to detect the finest component defects in weld seams, and linear accelerators can be used for X-ray inspection of large components with a wall thickness of up to 400 mm.


